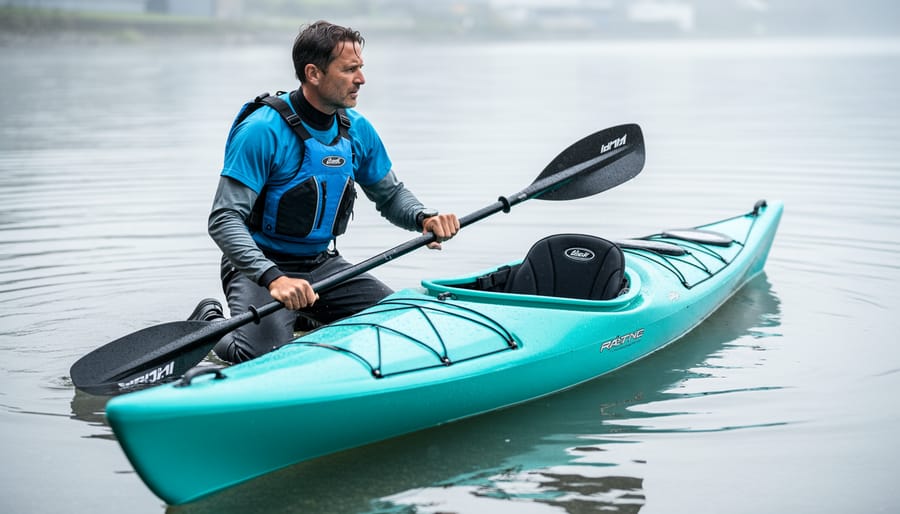
How to Prepare for Your E Skills Practice Test Before Hitting the Water
An e skills practice test is a self-assessment protocol where you run through core kayaking maneuvers in controlled conditions to verify you can handle them confidently before heading into open water. Most paddlers complete a basic readiness test in 30 to 45 minutes, checking wet exits, bracing, edging, and rescue techniques in waist-deep calm water near shore. The test works because it isolates each skill under low-stress conditions, letting you spot weaknesses when the stakes are minimal rather than discovering them mid-trip when wind picks up or you round a rocky point.
Every season, search and rescue teams respond to paddlers who misjudged their ability or skipped foundational skills. The gulf between thinking you can brace and actually recovering from a lean in cold water is wider than most beginners realize. Even experienced kayakers benefit from periodic check-ins, especially after a winter layoff or before exploring unfamiliar coastlines where conditions shift fast. Wildlife encounters and iceberg trails add unpredictable variables to any outing, so knowing your baseline competence matters.
This structured approach replaces guesswork with evidence. You’ll gather simple materials, establish clear safety boundaries, execute specific maneuvers in sequence, and verify your performance against objective criteria. The goal isn’t perfection but honest evaluation. If you nail every drill, you paddle with earned confidence. If you struggle, you’ve identified exactly where to focus your training before committing to longer routes or rougher water.
What You’ll Need for Your Pre-Kayaking Skills Assessment
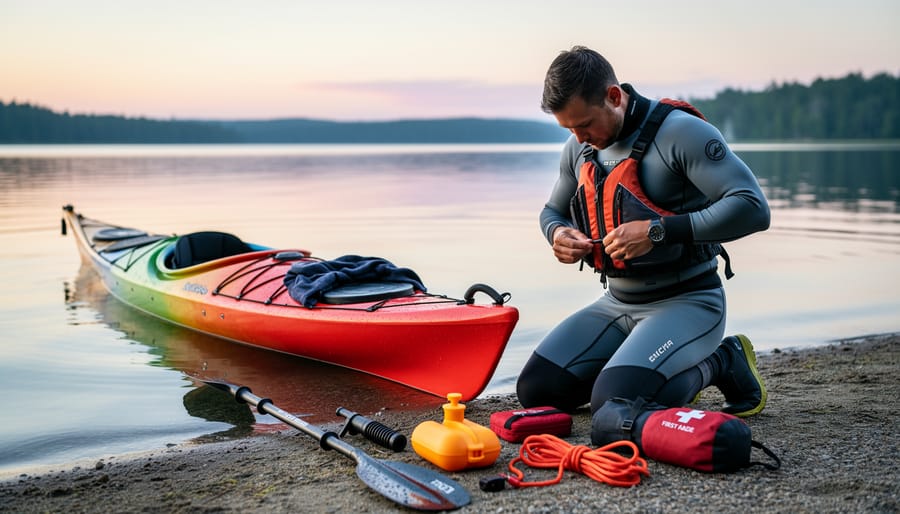
A proper pre-kayaking skill assessment doesn’t require expensive equipment or specialized facilities. You can conduct a thorough evaluation with gear you likely already own, plus a few simple tools to track your performance objectively.
Start with your standard kayaking equipment: the kayak you’ll actually use on your trip, your usual paddle, a properly-fitted personal flotation device (PFD), and a helmet if you’re testing for moving water or rocky environments. Using your real gear matters, practicing in a borrowed boat won’t tell you much about your readiness with your own equipment.
Beyond the basics, you’ll need:
- Your kayak and paddle suited for your intended environment
- Coast Guard-approved PFD that fits snugly
- Helmet for whitewater or rocky practice areas
- Scoring checklist or printed assessment sheet
- Stopwatch or timer for measuring maneuvers
- Waterproof video device (phone in dry bag works fine)
- Calm practice water with safe entry and exit points
- Optional: experienced partner or instructor for feedback
The scoring checklist is crucial. Create a simple sheet listing each skill you’re testing with space to mark “pass,” “needs work,” or “fail.” You can find free kayaking skill assessment templates online, or design your own based on the maneuvers relevant to your planned adventure. A basic waterproof notepad and pencil work perfectly, no need for fancy digital systems.
Video recording transforms your self-assessment. Mount your phone in a waterproof case on shore with a clear view of your practice area, or ask your partner to film. Reviewing footage reveals mistakes you won’t catch in the moment, like paddle angle errors or balance shifts you didn’t notice while concentrating on the maneuver.
Testing with a partner provides immediate feedback and adds a critical safety layer, especially when practicing rescues or pushing your limits. They don’t need to be an expert, just someone who can observe, time your exercises, and assist if things go wrong. For beginners especially, having another person present isn’t optional; it’s essential.
Critical Safety Warnings Before You Begin
Before you step into your kayak to conduct a practice assessment, you need to understand the real risks of self-testing on the water. This section covers the critical safety boundaries that keep your skill evaluation from becoming an emergency situation.
The cardinal rule is simple: never practice alone in unfamiliar or challenging conditions. Your skill test should match your current ability, not the adventure you’re aspiring to take next month. If you’re a beginner, conduct your assessment in calm, shallow water close to shore with a buddy present. Experienced paddlers can graduate to more dynamic conditions, but only with proper safety backup in place.
Environment selection matters immensely. Calm, protected waters like small lakes or slow-moving rivers suit beginners, while intermediate paddlers might test in light currents or mild wind. Avoid moving water, strong winds above 10 knots, or hazardous conditions for small craft during any self-assessment. Check weather forecasts before you head out and watch for changing conditions while on the water, sudden wind shifts or approaching storms are your signal to end the test immediately.
Cold water presents unique dangers. Water below 15°C (60°F) requires a wetsuit or drysuit, not just standard paddling gear. Your first aid kit should be accessible on shore, and someone should know your testing location and expected return time.
Know when to stop. If you’re shivering, exhausted, repeatedly failing basic skills, or feeling anxious about the next test element, end your session. A practice assessment isn’t about pushing through discomfort, it’s about honest evaluation within safe parameters. You can always retest another day.
Step-by-Step: Conducting Your E Skills Practice Test
Step 1: Set Up Your Testing Environment
Start by finding a practice area that honestly reflects your current abilities. Beginners should look for protected, shallow water, think sheltered coves, small ponds, or calm lake sections where you can touch bottom if needed and wind won’t push you around. If you’re preparing for a specific trip, match the conditions: intermediate paddlers heading to open water should test in similar environments, while those planning moving-water routes need appropriate current to evaluate their skills.
Scout your location beforehand. Check for hazards like submerged rocks, boat traffic, or sudden depth changes. Ideally, practice within sight of shore and where others can see you, even if you’re testing with a partner.
Before entering the water, lay out your pre-K skills assessment checklist on dry land. Review each skill you’ll evaluate and the criteria for passing. If you’re recording yourself, position a waterproof camera or phone in a secure holder on shore with a clear view of your practice zone, stable placement beats handheld footage every time.
Mark simple reference points with floating markers or onshore landmarks to create turning targets and measure tracking distance. This setup takes ten minutes but makes your test measurable rather than guesswork.
Step 2: Test Basic Boat Handling and Balance
With your testing environment ready, it’s time to evaluate the foundational skills that determine whether you can safely control your kayak. This phase focuses on the essentials, getting in and out without tipping, staying balanced when you’re not moving, and executing the basic strokes that will get you where you need to go.
Start by assessing these core competencies in order:
- Wet exit practice: Deliberately capsize in shallow water, release your spray skirt (if equipped), and exit the kayak calmly without panic, you should complete this smoothly within 5 seconds.
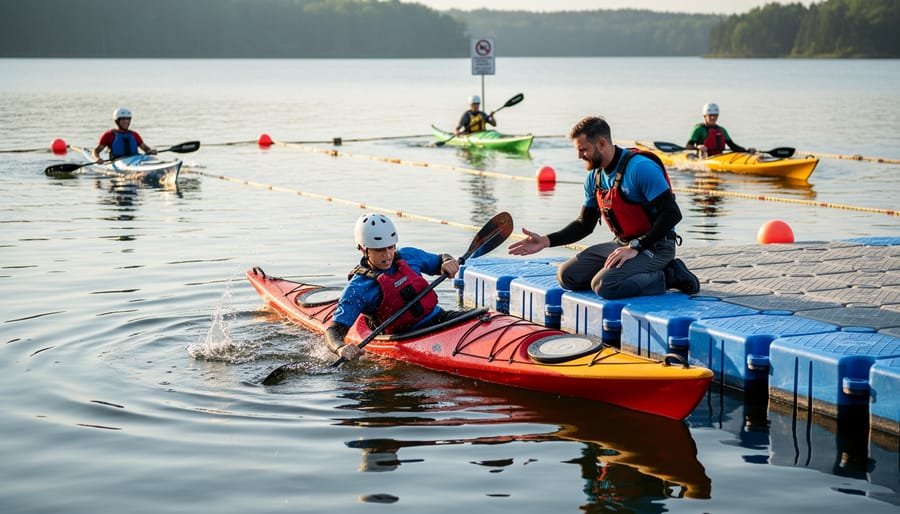
- Stable entry: Climb back into your kayak from the water or dock without excessive rocking, settling into proper posture with paddle secured, aim for minimal wobbling and one attempt.
- Static balance test: Sit motionless in your kayak for 30 seconds without bracing or paddling, maintaining an upright position, your kayak shouldn’t tilt more than 10-15 degrees to either side.
- Controlled forward paddling: Execute 10 consecutive forward strokes with proper torso rotation, keeping the kayak tracking straight, blade entry should be smooth, and you shouldn’t zigzag.
- Reverse paddling: Paddle backward for at least 5 strokes while looking over your shoulder, maintaining balance and direction, this tests your ability to back away from hazards.
- Sweep turns: Perform wide turning strokes on both your right and left sides, rotating the kayak at least 90 degrees in each direction, you should complete each turn within 3-4 strokes without losing stability.
For each element, use a simple pass/fail criterion: if you can complete the task three times consistently without assistance or near-capsizes, you pass. If you struggle, fail twice, or feel genuinely unsafe during any test, mark it for additional practice. Don’t rush through these assessments, sloppy execution now means bigger problems when conditions deteriorate on the water. Record which specific elements gave you trouble so you can target those weaknesses during your next practice session.
Step 3: Evaluate Maneuvering and Control
Set up a simple slalom course using five buoys or floating markers spaced roughly 15 feet apart in a zigzag pattern. Your goal is to paddle through this course while demonstrating precise control in each direction.
Start by paddling a straight line toward the first marker, focusing on maintaining your heading without drifting. Mark yourself down if you need more than three corrective strokes per 50 feet. When you reach the first buoy, execute a sharp turn using a combination of sweep strokes and edging, your kayak should pivot smoothly within two boat lengths. Alternate between right and left turns through the remaining markers, noting which direction feels weaker.
Next, test your braking ability. Build up moderate forward speed, then bring the kayak to a complete stop using backstroke paddle movements. You should halt within three boat lengths without losing balance or veering off course.
Common mistakes to watch for include overgripping the paddle (which causes fatigue and reduces control), failing to engage your core for turns, and chasing the kayak with your paddle rather than planting firm strokes. If you cannot complete the course without hitting markers or need more than five attempts to nail the stopping distance, plan additional practice sessions before venturing into open water or current.
Step 4: Assess Safety and Self-Rescue Skills
Safety and self-rescue skills separate confident paddlers from those who’ll freeze in an emergency. This portion of your assessment requires careful judgment, if you’re genuinely uncomfortable with any element, that’s valuable information about your current readiness.
Start with a controlled capsize in waist-deep water. Deliberately tip your kayak sideways, tuck forward, and execute a smooth wet exit by pushing away from the cockpit. Time yourself from capsize to surfacing, you should complete this in under five seconds without panic. If you hesitate or struggle to exit cleanly, you’re not ready for conditions where capsizing is likely.
Next, attempt paddle float self-rescue if you’re testing for solo paddling readiness. Secure your paddle float, position your paddle as an outrigger, and practice the challenging task of re-entering your kayak from the water. Success means getting back in and pumping out water within three minutes while maintaining control of your gear. Many paddlers discover they can’t execute this maneuver under real conditions despite understanding it conceptually.
For tandem testing, practice assisted rescues with your partner. The rescuer should stabilize the capsized kayak, help the swimmer re-enter, and maintain both boats throughout. Switch roles so both paddlers demonstrate competency.
Beginners should skip advanced rescue scenarios and focus exclusively on reliable wet exits in controlled environments. Mark yourself ready only when you can perform required rescues calmly, repeatedly, and efficiently.
Step 5: Document Your Results and Identify Gaps
Honest documentation turns your practice test into a powerful learning tool. Immediately after finishing, record your results while everything’s fresh in your mind. Use a simple pass/fail/needs-work rating for each skill you attempted, but go deeper, note specifically what went wrong. Did you struggle with paddle placement during your sweep strokes? Did your wet exit take longer than expected? Write it down.
If you filmed yourself, review the footage that same day. You’ll catch details you missed in the moment: poor posture, inefficient paddle angles, or hesitation before maneuvers. Compare what you felt versus what you actually did. The gap between perception and reality often reveals your biggest improvement opportunities.
Environmental factors matter tremendously. Document water temperature, wind speed and direction, current strength, and visibility. A skill that feels solid in calm, warm conditions might collapse in choppy, cold water. This context helps you understand whether you’re truly ready for your planned trip or if you tested under easier conditions.
Create your development plan by ranking skills from weakest to strongest. Focus your next practice sessions on the bottom three items. Set specific, measurable goals, “complete wet exit in under 15 seconds” beats “get better at capsizing.” Schedule your next assessment four to six weeks out, giving yourself time to improve meaningfully.

How to Verify Your Readiness and Next Steps
After documenting your performance across all test phases, it’s time to honestly assess whether you’re ready for your planned paddling adventure. This evaluation isn’t about achieving perfection, it’s about matching your demonstrated abilities to the demands of your intended trip.
For beginners planning calm-water excursions near shore, you should confidently demonstrate all basic boat handling skills, maintain balance in gentle conditions, and execute a controlled wet exit. If you struggled with any fundamental maneuver or felt uncomfortable during basic tests, delay your trip and practice these core skills until they become second nature.
Intermediate paddlers heading to more challenging environments need higher standards. You should complete all maneuvering tests with consistent control, perform self-rescue techniques successfully on your first attempt, and maintain composure throughout the assessment. If conditions like mild wind or small waves significantly impacted your performance during testing, you’re not ready for exposure to stronger elements.
Consider professional instruction or guided kayaking tours if you failed more than two major skill categories, couldn’t complete safety procedures independently, or felt genuinely anxious during any test phase. There’s no shame in getting expert guidance, it’s the fastest path to confident, safe paddling.
Retest your skills before every paddling season and whenever you’re attempting a new environment or kayak type. Someone comfortable on lake water shouldn’t assume they’re ready for coastal conditions without specific assessment. If you’re planning adventures in unique locations like French Beach camping areas, test your skills in similar coastal conditions beforehand.
Between trips, maintain your abilities through regular practice rather than letting months pass without paddling. Skills fade faster than you think.
Common Questions About Pre-Kayaking Skill Testing
Whether you’re a first-time paddler or someone returning after a season off, questions about skill testing are completely natural. These answers help you understand how self-assessment fits into your development as a safe, confident kayaker.
How often should I conduct a pre-kayaking practice test?
Test your skills at the start of each season, before any trip to unfamiliar waters, and after breaks of more than three months from paddling. This keeps your self-awareness current and reveals any skill decay that happens naturally during off-periods.
Do I need to test my skills if I’ve kayaked before?
Yes, experienced paddlers benefit from regular self-assessment to identify bad habits, confirm muscle memory after time away, and ensure they’re truly ready for conditions that may have changed since their last outing. Complacency creates risk regardless of experience level.
Can I complete my practice test in a swimming pool?
Pools work well for testing basic strokes, wet exits, and some self-rescue techniques, but you’ll miss crucial elements like reading water conditions, handling waves, and managing wind. Use pools for winter practice, then retest in open water before actual trips.
Is a practice test a substitute for professional kayaking instruction?
No, self-assessment identifies your current abilities and gaps, but formal instruction teaches proper technique, advanced skills, and safety protocols you can’t learn alone. Think of practice tests as diagnostic tools that work alongside, not instead of, professional training.
The relationship between testing frequency and trip complexity matters. A calm lake paddle might need only an annual refresher test, while preparing for environments with icebergs or strong currents demands thorough assessment within days of departure. Conditions change, and your readiness should match the specific challenge ahead.
Different kayak types require adapted testing protocols. Sit-on-top kayaks eliminate some capsize recovery steps but demand different balance skills. Tandem boats need coordination tests beyond solo paddling. Sea kayaks used for Algonquin Park tips and similar adventures benefit from extended endurance assessments you’d skip for recreational boats.
For specialized environments, add targeted skill checks. Wildlife encounter areas require testing your ability to maintain control during unexpected moments, can you stop instantly and back-paddle smoothly? Iceberg trails demand cold-water gear verification and quick maneuvering practice. Honest answers about these scenario-specific skills determine whether you’re genuinely prepared or need more focused training before departure.
Regular skill testing isn’t just another pre-trip checkbox, it’s how you build genuine confidence and keep yourself safe on the water. Every time you run through these assessments, you’re reinforcing muscle memory, spotting weaknesses before they become problems, and proving to yourself that you’re ready for what’s ahead.
Make this practice a ritual. Test your skills before each major trip, especially if weeks or months have passed since your last paddle. Conditions change, your body changes, and skills atrophy faster than you’d think. Twenty minutes of honest evaluation can mean the difference between a memorable adventure and a rescue situation.
Here’s the truth: the best paddlers aren’t the ones who never struggle with a skill, they’re the ones who recognize their limits and work within them. If your assessment reveals gaps, that’s not failure. That’s data. Use it to guide your practice sessions or seek professional instruction.
Once you’ve verified your readiness and feel confident in your abilities, consider joining one of Stanley Kayaking’s guided adventures. You’ll experience North American landscapes with expert support, learn from seasoned guides, and paddle alongside others who take safety as seriously as you do. Your honest self-evaluation has already proven you’re the kind of paddler we want on the water.