How to Run a Pre-K Skills Assessment for Kayaking Safety and Success
Before you book your first paddling adventure or join guided kayaking tours you need to assess three critical skill areas: water confidence, physical readiness, and safety awareness. This self-assessment takes about 30 minutes and can be completed at home or at a calm swimming area, giving you an honest picture of whether you’re ready for the water.
The difference between a thrilling day exploring iceberg trails and a stressful, potentially dangerous situation often comes down to knowing your capabilities before you launch. Too many beginners skip this crucial step and find themselves exhausted, anxious, or unprepared when they’re a half-mile from shore. The good news? Most people underestimate their readiness, while others overestimate critical skills like balance recovery or cold-water response.
This assessment isn’t about achieving perfection. It’s about identifying gaps so you can address them through practice, training, or choosing appropriate tour options for your current level. Whether you’re planning to paddle alongside wildlife in protected bays or navigate more challenging coastal routes, knowing exactly where you stand gives you the confidence to choose experiences that match your abilities and the wisdom to prepare for areas that need work.
The framework below walks you through specific tests, observable benchmarks, and honest self-evaluation criteria that outdoor guides use when assessing participant readiness.
Why Assess Your Skills Before Hitting the Water
Honest skill assessment isn’t about crushing your kayaking dreams. It’s about making sure your first paddle is memorable for the right reasons, not because you ended up clinging to an overturned kayak in 50-degree water while a tour group watches from shore.
When you accurately evaluate your abilities before choosing a route, you match yourself with water conditions you can actually handle. A beginner who overestimates their skills and books a coastal tour with tidal currents faces genuine danger, cold North American waters don’t forgive mistakes, and neither do shifting weather patterns that can turn a calm morning into a windy afternoon challenge. The gap between “I think I can do this” and “I can confidently do this” often shows up at the worst possible moment.
Proper assessment also maximizes your enjoyment. There’s nothing fun about spending two hours white-knuckling your paddle while everyone else relaxes and watches seals. When you choose routes that fit your actual skill level, you can focus on the experience itself: navigating between icebergs, spotting eagles overhead, or simply enjoying the rhythm of your strokes without constant anxiety.
Beyond personal safety, skill evaluation affects your group. Guides adjust their routes based on the weakest paddler’s abilities. If you’ve overstated your skills, you limit everyone’s options. If you’ve been honest about your assessment results, your guide can plan an adventure where everyone stays safe, sees wildlife, and wants to paddle again.
What You’ll Need for Your Assessment
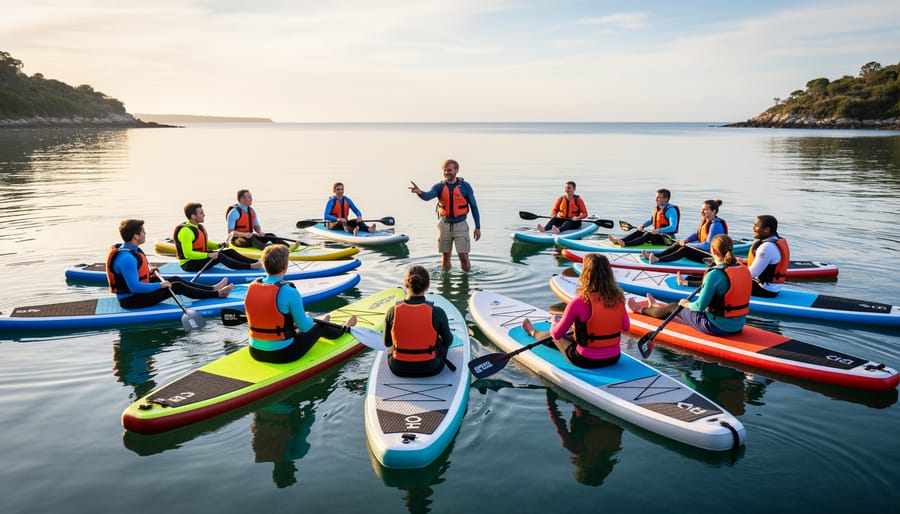
Before you step into a kayak for your assessment, gather the right gear and locate a safe practice environment. You’ll need access to calm, shallow water, think protected bays, small lakes, or designated beginner areas where wave action is minimal and you can touch bottom if needed.
The essential equipment for your skill evaluation includes:
- A properly fitted personal flotation device (PFD) that you’ll wear throughout the entire assessment
- A recreational kayak or sit-on-top model, either borrowed or rented from a local outfitter
- A safety whistle attached to your PFD for emergency signaling
- A printed or digital skills checklist to track your progress through each component
- A waterproof watch or timer to measure your endurance during timed paddle tests
- A buddy, instructor, or experienced paddler who can observe your technique and provide feedback
- Swim attire or quick-dry clothing suitable for potential water immersion
Don’t overlook the observation component. Having someone watch your form makes a huge difference in identifying technique issues you can’t see yourself. Many kayak rental facilities offer short orientation sessions that work perfectly for this purpose, and they’re already set up in controlled environments ideal for assessment.
You won’t need expensive gear for this evaluation. If you’re testing yourself before committing to guided tours, whether you’re eyeing iceberg trails in Newfoundland or wildlife-rich coastlines, rental equipment works fine. Focus on completing the assessment safely rather than acquiring specialized gear you may not need yet.
Safety Considerations Before You Begin
Before you grab a kayak and head to the water for your skill assessment, you need to establish a safe foundation. This evaluation isn’t a pass-or-fail test under pressure, it’s a controlled opportunity to understand your current abilities and limitations.
First, confirm you can swim at least 50 meters and tread water for several minutes. If you’re not a confident swimmer, postpone the assessment and take swimming lessons first. No amount of kayaking technique compensates for inability to self-rescue in water. Next, check the water temperature. Cold water (below 15°C or 60°F) dramatically increases risk during any wet exit practice, even in shallow areas. If conditions are cold, wear appropriate thermal protection or wait for warmer weather.
Never conduct this assessment alone. Bring a skilled paddler, instructor, or safety-aware buddy who can assist if something goes wrong. They should stay close enough to help immediately, especially during wet exit practice or balance testing. Choose a controlled environment: calm, protected water with minimal boat traffic, no current, and easy shore access. A sheltered cove, quiet lake section, or designated beginner area works well. Avoid conducting assessments in wind above 15 km/h, approaching storms, fog, or any conditions that make you uneasy.
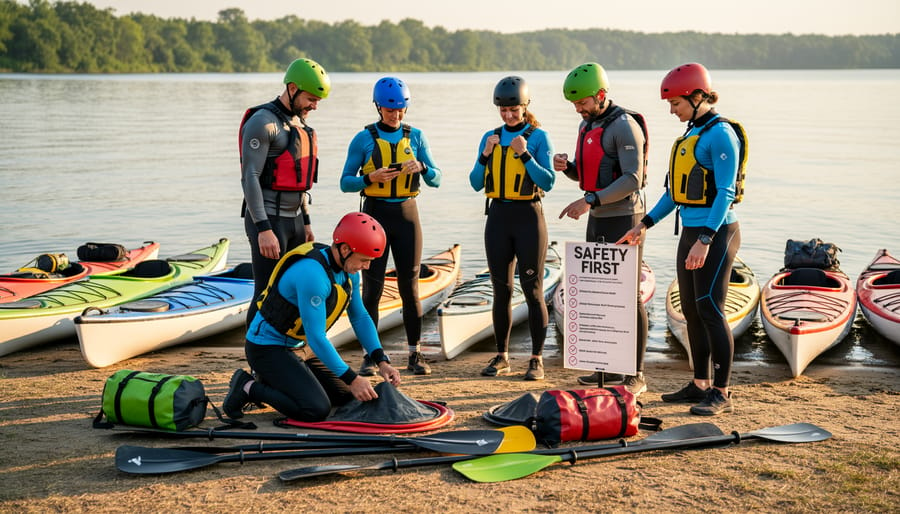
Pack essential safety gear including a properly fitted PFD (worn throughout the entire assessment), whistle, and basic first aid kits in Canada suitable for water activities. Keep a charged phone in a waterproof case within reach.
Your goal is honest evaluation, not proving toughness. If any skill feels beyond your current ability, that’s valuable information that helps you train appropriately before your first real kayaking adventure.
Step-by-Step Pre-Kayaking Skill Assessment Process
Step 1: Evaluate Your Water Confidence
Before you even touch a paddle, you need to know whether you’re genuinely comfortable in water. This isn’t about being an Olympic swimmer, it’s about ensuring you won’t panic if you unexpectedly end up in the water during a capsize. Cold North American lakes and coastal waters are unforgiving environments, so honest self-evaluation here is non-negotiable.
Start by testing these fundamental water confidence skills in a safe, supervised pool or shallow area:
- Swim 50 yards continuously using any stroke, without stopping or grabbing the edge
- Tread water for 2 minutes straight while keeping your head above the surface
- Retrieve an object from chest-deep water by submerging your head completely
- Float on your back for 1 minute without assistance or panic
If you struggle with any of these tests, you’re not ready for kayaking yet. A capsize means cold water immersion, disorientation, and the need to stay calm while managing your kayak and gear. The underwater retrieval test specifically simulates the sensation of going under unexpectedly, if you panic when your face gets wet or you lose sight of the surface briefly, that’s a red flag. Consider taking swimming lessons before moving forward with your kayaking assessment. Your safety depends on being comfortable, not just capable, in the water.
Step 2: Test Basic Paddling Mechanics
Once you’re comfortable in the water, it’s time to test your fundamental paddling skills. Find a calm, shallow area where you can touch bottom if needed, ideally with minimal current or wind.
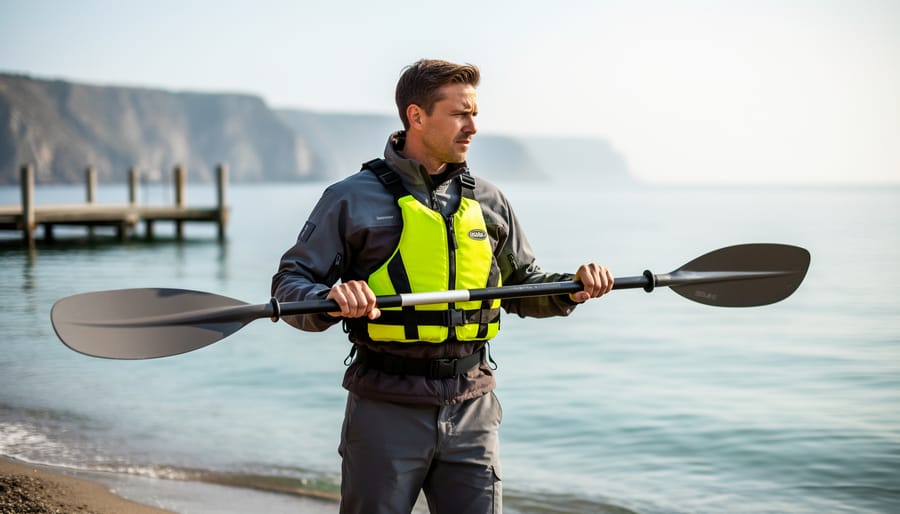
Start by checking your paddle grip. Hold the paddle horizontally above your head with arms forming a 90-degree angle at the elbows. Your hands should be equally spaced from the center, and you should see the longer, angled edge of each blade facing away from you. This proper grip prevents wrist strain and maximizes stroke power.
Next, practice your forward stroke for five minutes. Focus on rotating your torso rather than just using your arms, your core should drive each stroke. The blade should enter the water near your toes and exit at your hip. Can you maintain steady forward motion without zigzagging? Good paddle mechanics create a relatively straight path.
Test your stopping ability by paddling forward at moderate speed, then planting your paddle blade flat against the water like a brake. You should come to a controlled stop within two boat lengths.
For reverse paddling, practice moving backward in a straight line for at least 20 feet. This requires looking over your shoulder and using short, controlled strokes.
Finally, assess your turning capability. Practice sweep strokes on each side, wide, arcing strokes from bow to stern that spin the kayak. You should complete a full 360-degree turn in both directions without struggling or losing balance.
Step 3: Practice Entering and Exiting the Kayak
Getting in and out of a kayak sounds simple until you’re wobbling on a dock with one foot in the boat and the other on dry land. This fundamental skill deserves practice because an unstable entry or exit can dump you in the water before your trip even starts.
Start from a stable dock if possible. Place your kayak parallel to the dock, hold it steady with one hand on the dock edge and one on the kayak’s cockpit rim. Step into the center of the cockpit, keeping your weight low and centered. Sit down quickly before attempting to swing your legs in. The goal is smooth, controlled movement without the kayak rocking side to side.
Next, try the beach entry. Wade into ankle-deep water, straddle the kayak, and lower yourself into the seat while keeping the boat perpendicular to shore. This method tests your balance differently because the kayak can slide or tip on uneven ground.
Exit using the reverse process. Practice until you can manage both scenarios without grabbing wildly for support or splashing in. If you consistently struggle or feel panicked during this process, you need more foundational practice before venturing into open water.
Step 4: Assess Your Balance and Stability Awareness
Start in calm water with your kayak stationary. Place your paddle across the cockpit in front of you for support, then practice slow, controlled weight shifts from one hip to the other. You should feel the kayak tilt slightly without panicking or overcorrecting.
Next, test your reach limits. Keeping your lower body stable, extend one hand toward the water on each side. Notice how far you can lean before the kayak feels unstable. This awareness helps you understand your stability margins when retrieving a dropped item or bracing against waves.
With a buddy watching nearby, gradually test the kayak’s tipping point by leaning progressively further to one side. Stop well before you risk capsizing. The goal is learning what instability feels like so you can recognize and correct it early.
Finally, paddle through mild boat wake or small waves created by wind. Notice how the kayak responds to movement beneath you. Can you maintain balance without tensing up? Do you instinctively brace with your paddle or adjust your hips to counter the motion?
If you grip your paddle white-knuckled or freeze when the kayak rocks, you need more stability practice before venturing into open water with currents or wildlife activity.
Step 5: Test Wet Exit Capability
Knowing you can safely exit an overturned kayak is non-negotiable before paddling in open water. This controlled capsize practice removes fear and builds the muscle memory you’ll need if you ever flip unexpectedly.
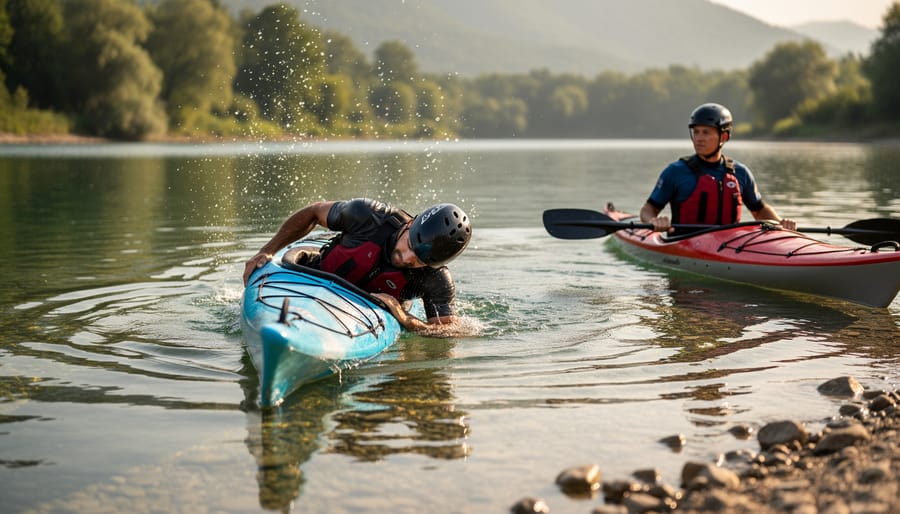
Start in waist-deep, warm water with a buddy standing beside the kayak. Secure your paddle to the deck with a leash or have your partner hold it. Once you’re seated and ready, take a deep breath, lean to one side, and allow the kayak to capsize completely. The moment you’re upside down, resist the urge to thrash. Stay calm, run your hands along the kayak’s sides toward the cockpit rim, push yourself down and out of the seat, then surface beside the boat.
Repeat the wet exit three to five times until it feels routine rather than panicked. Each practice round should take no more than five seconds from capsize to surfacing. If you struggle to escape quickly, you’re not ready for deeper or moving water, consider a lesson with an instructor who can troubleshoot your technique. A confident wet exit transforms kayaking from nerve-wracking to genuinely enjoyable.
Step 6: Evaluate Physical Endurance
Physical endurance separates an enjoyable paddle from a struggle halfway through your tour. Set a timer and paddle continuously for 15-20 minutes at a moderate, sustainable pace, not racing, but maintaining steady forward movement without extended breaks. This mirrors the effort required on most guided tours, where you’ll paddle between scenic stops or wildlife viewing points.
Pay attention to how your body responds. Burning shoulders, tight forearms, and labored breathing signal you’re working too hard or using inefficient technique. Mild exertion is normal, but if you’re gasping for air or your arms feel like lead by minute ten, you need more conditioning before committing to longer routes.
Note when fatigue hits and how it affects your stroke quality. Sloppy technique under tiredness increases capsize risk and makes paddling harder, creating a dangerous cycle on the water.
Interpreting Your Assessment Results
After completing all six assessment steps, review your results honestly to determine where you stand. If you successfully performed the wet exit, maintained balance during weight shifts, and paddled continuously for 15-20 minutes without excessive fatigue, you’re operating at a confident beginner level, ready for guided tours on calm lakes or protected coastal waters with minimal current.
Struggled with the wet exit or felt unstable during balance tests? You’re a true beginner, which simply means you should stick to shorter tours in sheltered environments with constant guide supervision. There’s no shame here; everyone develops first-timer skills at their own pace, and acknowledging your current level keeps you safe.
If you aced basic paddling mechanics and water confidence but fatigued quickly, you have solid foundational skills with endurance as your growth area. You’re suited for shorter routes with rest breaks rather than multi-hour expeditions.
Pay special attention to any skill where you felt genuinely uncomfortable or unsafe. That’s your limiting factor for route selection, the weakest link determines your readiness, not your strongest skills. A paddler who excels at strokes but panics during capsize practice isn’t ready for open water, regardless of their paddling technique.
Write down specific areas needing improvement. This creates your training roadmap for leveling up to more challenging adventures.
What to Do Based on Your Skill Level
Your assessment results should guide your next kayaking adventure, not discourage you from exploring the water. If you scored yourself as a true beginner, comfortable in water but still building paddling mechanics, start with sheltered environments where conditions remain predictable. Guided tours on calm lakes or protected harbors give you the structure and safety backup to build confidence without feeling overwhelmed. Most outfitters offer introductory sessions that include pre-paddle instruction and stay close to shore, perfect for first-timers who passed the water confidence test but need more practice with stroke technique and boat control.
Confident beginners who demonstrated solid basic paddling, stable balance, and a successful wet exit can expand their options considerably. You’re ready for tours that include gentle wildlife viewing along coastlines, such as watching seals from a respectful distance or paddling near icebergs in calm fjords. Protected bays with minimal current and easy landing spots suit your skill level well. Consider destinations like French Beach camping trips where you can combine overnight adventures with manageable paddling conditions.
Based on your assessment results, here’s how to match your skills to appropriate experiences:
- Beginners: Book guided calm-water tours with on-water instruction and stay within 100 meters of shore
- Confident beginners: Explore protected bays, iceberg trails in settled weather, and tours with minimal current exposure
- Intermediates: Ready for longer half-day or full-day tours with moderate currents, active wildlife zones, and open-water crossings
When communicating with outfitters or guides, be specific rather than vague. Instead of saying “I’m pretty good,” describe what you’ve actually done: “I’ve completed a wet exit successfully, can paddle continuously for twenty minutes, and have basic turning skills but haven’t experienced currents.” Honest communication helps guides place you in the right group and ensures you get an experience that challenges without overwhelming you. If certain assessment components gave you trouble, maybe your endurance flagged or you struggled with the stability test, mention those gaps so guides know where you’ll need extra attention or encouragement.
Common Questions About Pre-Kayaking Assessments
Do I need to know how to roll a kayak before my first trip?
No, rolling is an advanced whitewater skill that’s not required for recreational touring or calm-water paddling. Being able to perform a wet exit and re-enter with assistance is sufficient for beginner routes.
How strong a swimmer do I need to be?
You should be comfortable swimming at least 50 meters in open water and treading water for 5-10 minutes. If you sink immediately or panic in deep water, take swimming lessons before attempting kayaking in cold North American waters.
Can I kayak if I’m nervous around water?
Yes, but start with extremely calm conditions like protected lakes or harbors, wear your PFD at all times, and consider booking a guided tour where professional support is immediately available. Many nervous paddlers gain confidence gradually through short, successful outings.
How often should I reassess my skills?
Reassess at the start of each paddling season if you’ve taken months off, and whenever you plan to tackle more challenging conditions than you’ve previously attempted. Skills fade without practice, especially wet exit technique and endurance.
If you’ve identified gaps in your assessment, don’t be discouraged. Most skills improve rapidly with focused practice over just a few sessions. Prioritize fixing critical safety issues like wet exit capability before cosmetic weaknesses like perfect stroke form. Consider enrolling in a beginner kayaking course where instructors can provide real-time feedback and help you progress faster than solo practice allows.
When you’re ready to apply your skills to actual adventures, incorporate what you’ve learned into your trip planning checklist by honestly matching your verified skill level to route difficulty ratings. Being truthful with outfitters about your abilities ensures they’ll place you on routes where you can handle the conditions, enjoy wildlife sightings without stress, and build confidence for future paddles along iceberg trails and coastal ecosystems.
Honest self-assessment isn’t about discouragement. It’s about setting yourself up for success on the water. Every experienced paddler once struggled with their first wet exit, wobbled during their first launch, or felt their arms burn after just ten minutes of paddling. Starting with a realistic picture of your abilities doesn’t limit your adventures, it opens the door to experiences you’ll actually enjoy and remember for the right reasons.
When you match your skill level to appropriate routes, you’re not playing it safe in a boring way. You’re choosing adventures where you can focus on the stunning scenery, wildlife encounters, and the pure joy of gliding across the water, rather than white-knuckling your paddle grip and counting down the minutes until you’re back on land. North America’s waterways offer incredible experiences for every skill level, from serene lake paddles past towering icebergs to dynamic coastal routes alive with seals and seabirds.
Stanley Kayaking’s experienced guides understand that skill-building happens gradually. They’ll meet you where you are, help you grow your confidence, and ensure your first kayaking experiences create excitement for your next adventure rather than hesitation.