Why Camping Lac Des Pins Is Quebec’s Best-Kept Secret for Water Lovers
Nestled in Quebec’s Laurentian region, Camping Lac des Pins offers paddlers and outdoor enthusiasts a front-row seat to some of the province’s most pristine waterways. This family-friendly campground has quickly become a hotspot for kayakers looking to escape the city without sacrificing modern amenities or access to genuine wilderness experiences.
The lake itself is the main attraction. Calm morning waters make it perfect for beginners testing their first strokes, while the surrounding network of interconnected waterways challenges experienced paddlers seeking full-day adventures. You’ll find designated launch areas that accommodate everything from solo kayaks to tandem boats and stand-up paddleboards. The shoreline remains largely undeveloped, meaning wildlife encounters are part of the daily routine rather than rare occurrences.
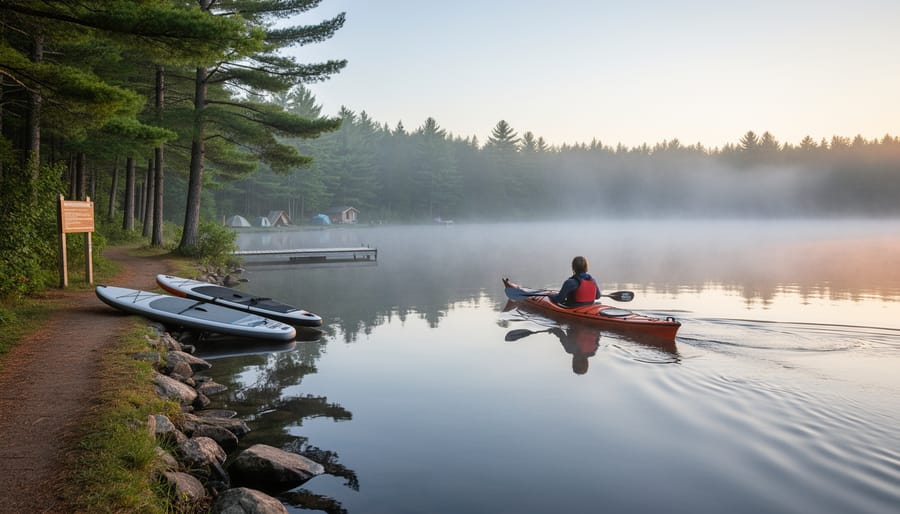
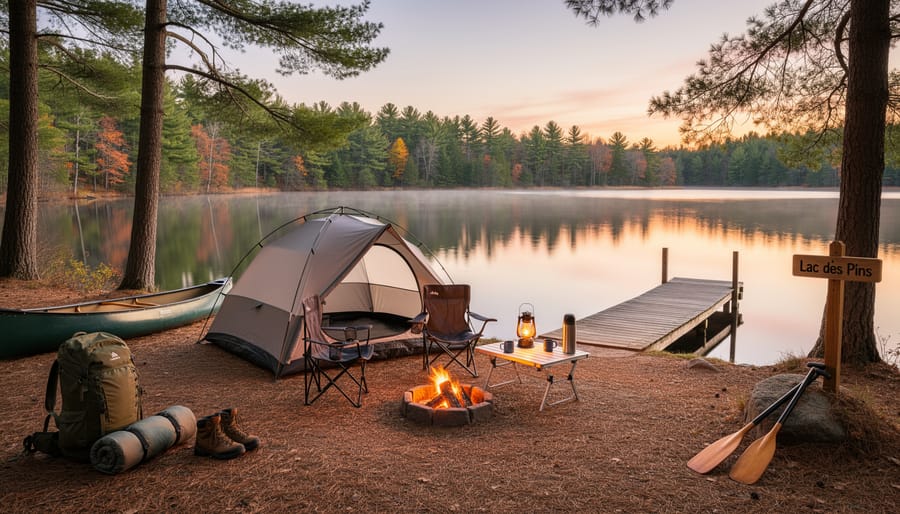
What sets this location apart is the balance it strikes. You can paddle out at sunrise to watch mist rise off glassy water, potentially spotting loons, beavers, or even the occasional moose along the shoreline. Then return to a campsite equipped with electrical hookups, clean facilities, and fire pits for evening gatherings. It’s wilderness accessibility without requiring backcountry expertise.
The 2026 season brings renewed interest to this campground, particularly among paddlers discovering Quebec’s waterways for the first time. Whether you’re planning a weekend getaway or a week-long basecamp for exploring the region’s lakes and rivers, understanding what Camping Lac des Pins offers will help you make the most of your visit. From booking strategies to on-water safety considerations, here’s everything you need to know before you go.
What Makes Camping Lac Des Pins Stand Out
Camping Lac Des Pins isn’t your average Quebec campground. With 1166 sites sprawled across its lakeside property in Franklin, it’s one of the largest camping destinations in the Montérégie region, yet it manages to feel surprisingly intimate once you’re on the water. The campground sits on the shores of Lac Des Pins, offering direct access to calm, clear waters that make it a natural playground for kayakers and paddlers who want to escape into nature without driving to the far reaches of northern Quebec.
Location is one of this campground’s biggest assets. Tucked into the rolling countryside of Montérégie, it’s close enough to Montreal (about 45 minutes south) and Ottawa (roughly 90 minutes west) that you can leave work on a Friday and be paddling by dinner. The area’s agricultural heritage means you’ll pass farms and orchards on your way in, a pleasant contrast to the wilderness that awaits at the lake’s edge. Franklin itself is a small rural community, so don’t expect tourist sprawl. What you get instead is authentic Quebec countryside with forested hills rising in the distance.
The real draw for water sports enthusiasts is the lake itself. Unlike some crowded waterways where motorboats churn up waves, Lac Des Pins offers sheltered bays and quiet coves perfect for exploring by kayak. The water stays relatively calm even on breezy days, making it approachable for beginners while still offering enough shoreline variety to keep experienced paddlers engaged. Early morning paddles often reward you with mist rising off the water and the possibility of spotting herons along the reeds.
The 2026 season runs from May 15 through October 1, giving you nearly five months to experience the lake in different moods, from spring’s cool clarity to autumn’s fiery reflections.
Kayaking and Water Sports at Lac Des Pins
Best Kayaking Routes and Launch Points
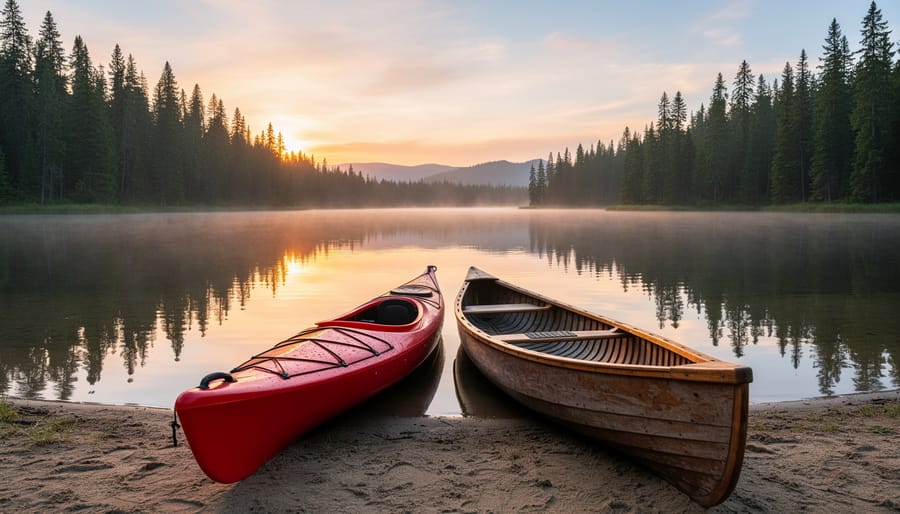
The lake’s configuration makes route planning straightforward. Most kayakers put in from the main beach area near the campground entrance, where a sandy shoreline and gradual depth provide easy access for paddlers of all levels. You can also launch from sites along the water’s edge if you’ve scored a lakefront spot, giving you immediate access to your morning paddle before other campers stir.
For a leisurely exploration, trace the shoreline clockwise from the main beach. This roughly three-kilometer loop keeps you close to shore while revealing hidden coves and reed-lined inlets where herons fish in the shallows. The route typically takes an hour at a relaxed pace, ideal for beginners or anyone wanting to stay within easy reach of their campsite.
More confident paddlers head across to the lake’s quieter eastern shore, where forested banks create a different atmosphere. Early morning and late afternoon bring the best wildlife viewing, watch for beavers near fallen logs and turtles sunning on rocks. The crossing requires checking wind conditions first, as open water can get choppy on breezy afternoons.
If you’re new to the sport, consider guided kayaking tours before venturing solo at Lac Des Pins. The skills you pick up translate directly to navigating this lake’s mix of sheltered bays and open stretches.
A northern route toward the narrower inlet provides shelter from wind and closer encounters with shoreline vegetation. Paddling here feels almost meditative, with lily pads dotting the shallows and dragonflies hovering above the water. Just keep an eye on depth in late summer when water levels drop slightly.
Other Water Activities Beyond Kayaking
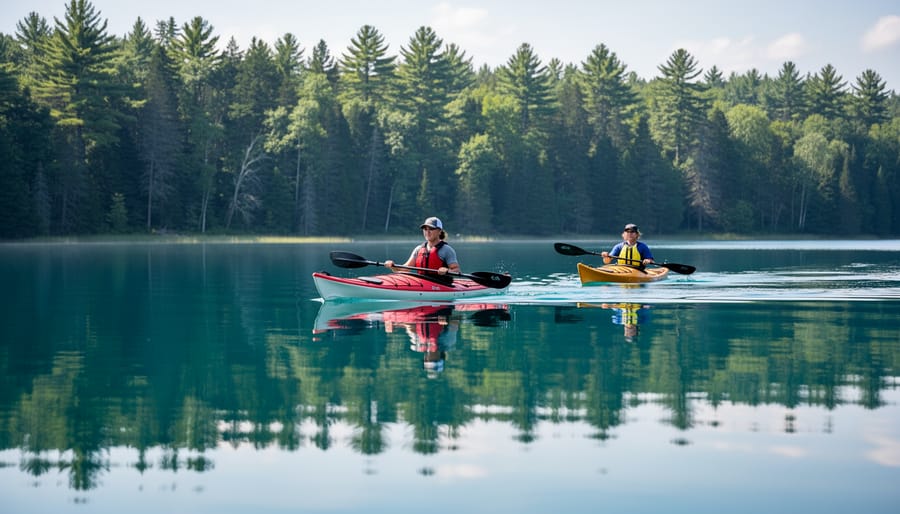
While kayaking steals the spotlight, Lac Des Pins offers a full menu of water-based activities that’ll keep every member of your group entertained. The lake’s calm, protected waters make it ideal for stand-up paddleboarding, especially during early morning sessions when the surface turns glassy and the wildlife wakes up around the shoreline. It’s a fantastic way to build core strength while exploring at a leisurely pace.
Swimmers will appreciate the designated beach areas where the water quality stays consistently clean throughout the season. The gradual entry points make it safe for families with younger children, while stronger swimmers can venture further out to deeper sections. Just remember that Quebec lake temperatures can be brisk even in summer, so plan accordingly.
Canoeing offers a different perspective than kayaking, the extra stability makes it perfect for couples or families who want to explore together, and you’ll have room for a picnic lunch or fishing gear. Speaking of fishing, anglers can try their luck casting for bass and panfish from the shore or their boats. The lake supports a healthy fish population, though you’ll need a valid Quebec fishing license.
The real advantage here is variety. You can kayak in the morning, swim after lunch, try paddleboarding before dinner, and still have energy left for an evening canoe trip. With 1166 campsites spread across the property, you’ll find your own slice of waterfront to claim as home base for whatever adventure calls to you.
Campsite Options and Pricing for 2026
Camping Lac Des Pins offers a range of accommodation options to suit every style of outdoor adventurer, from seasoned tent campers to families looking for a more comfortable introduction to the camping experience. With 1166 sites spread across the property, this sprawling campground provides plenty of choices without sacrificing the natural lakeside atmosphere that makes it special.
Traditional campsites form the backbone of the Lac Des Pins experience. These sites range from $38 to $56 per night for the 2026 season, depending on the specific site features and location within the campground. The price variation typically reflects factors like proximity to the water, electrical hookups, and the size of your camping party. Most standard sites accommodate tents, trailers, or RVs and provide access to the campground’s facilities including washrooms, showers, and common areas. Sites closer to the lake command premium pricing but deliver unbeatable sunrise views and quick access to kayak launch points.
For those who want the camping experience without hauling gear, ready-to-camp accommodations offer a compelling alternative. These options max out at $150 per night and come equipped with the essentials, allowing you to show up with your clothes and cooler rather than an entire gear arsenal. This option works beautifully for first-time campers testing the waters or families with young children who appreciate the convenience of a pre-set shelter after a long day on the lake.
| Accommodation Type | Nightly Rate | Key Features | Best For |
|---|---|---|---|
| Standard Campsite | $38-$56 | Bring your own tent/RV, basic hookups | Experienced campers, budget-conscious adventurers |
| Premium Lakeside Site | $50-$56 | Water proximity, electrical hookups | Kayakers wanting quick lake access, scenic campers |
| Ready-to-Camp | Up to $150 | Pre-equipped shelter, minimal gear needed | Families, first-timers, convenience seekers |
When selecting your site, consider how you plan to spend your days. Kayakers benefit from sites positioned near launch areas, cutting down the carry distance for boats and gear. Families with multiple tents or larger RVs should confirm site dimensions when booking. The sheer number of sites means you have options, but popular lakefront spots fill quickly once reservations open for the season.
To lock in your preferred dates and site type, call (450) 827-2353 to speak with the reservation team. They can guide you through available options for your specific dates and answer questions about which sites best match your water sports plans and camping setup.
Planning Your Visit: Season Dates and Reservations
Getting a site at Camping Lac Des Pins requires a bit of advance planning, especially given the campground’s popularity and its impressive 1166-site capacity. The 2026 season runs from May 15 through October 1, giving you nearly five months to experience this Quebec gem.
Reservations are handled by phone at (450) 827-2353. While this old-school approach might seem inconvenient in our app-driven world, it actually works in your favor for getting specific site information and asking questions about water access for kayaking. Call early in the year to secure peak-season weekends, particularly around Canada Day and the summer holiday period.
Timing matters for your adventure style. May and early June offer cooler temperatures and fewer crowds, ideal for paddlers who prefer solitude and don’t mind wearing a wetsuit. The water warms considerably by late June, making it perfect for combining kayaking with swimming. July and August see the campground at full capacity, but the vibrant atmosphere and guaranteed warm weather make it worth the company. September brings spectacular fall colors reflecting off the lake, creating stunning paddling conditions, though nights turn crisp.
For kayakers specifically, weekdays in June or September provide the best balance of good weather, manageable crowds, and calm water conditions. Weekend warriors should book several weeks ahead for July and August slots. The shoulder seasons offer easier booking and often better paddling, with morning mist lifting off the lake creating that magical Quebec wilderness feeling you came here to experience.
Beyond the Water: Hiking and Wildlife Watching
When you’re ready to swap your paddle for hiking boots, the lands surrounding Camping Lac Des Pins reveal a different side of the Montérégie region’s natural wealth. The Franklin area sits within a wildlife corridor that connects forest patches, wetlands, and agricultural fields, creating a mosaic of habitats where white-tailed deer browse at dawn and great blue herons stalk the shallows. Early morning walks along the campground’s perimeter paths often reward patient observers with sightings of red foxes, wild turkeys, and a rotating cast of migratory songbirds that use this region as a stopover during spring and fall migrations.
Several trail systems within a short drive of the campground offer excellent hiking trails experience for those wanting to explore beyond the lake’s edge. The terrain here is gentler than Quebec’s northern wilderness, making it ideal for families and less experienced hikers who want to build confidence before tackling more demanding routes. Local conservation areas feature wooded trails that wind through sugar maple stands and past beaver ponds, where you can observe the engineering prowess of these industrious rodents firsthand.
- White-tailed deer (most active at dawn and dusk; observe quietly from a distance)
- Great blue herons and green herons (common near shorelines and wetlands)
- Red foxes (occasionally spotted hunting in open areas)
- Wild turkeys (often seen in mixed forest edges)
- Beavers (look for lodges and fresh-cut saplings near water)
- Never feed wildlife or approach nesting birds; carry binoculars for closer views
The real magic happens when you blend water and land pursuits into a single day hike planning. Paddle across the lake in the morning when the water is calmest, beach your kayak on a quiet shore, then explore inland trails before returning to camp. This combination approach maximizes your Quebec outdoor adventure while giving your shoulders a break from paddling and your legs the workout they crave.
Essential Gear for Your Lac Des Pins Adventure
Packing smart for Lac Des Pins means preparing for two distinct environments: the water and the campsite. Quebec’s Montérégie weather swings wildly even during peak season, so layering is your best friend. Start with moisture-wicking base layers, add a fleece or insulated mid-layer, and pack a waterproof shell that can handle surprise storms rolling across the lake.
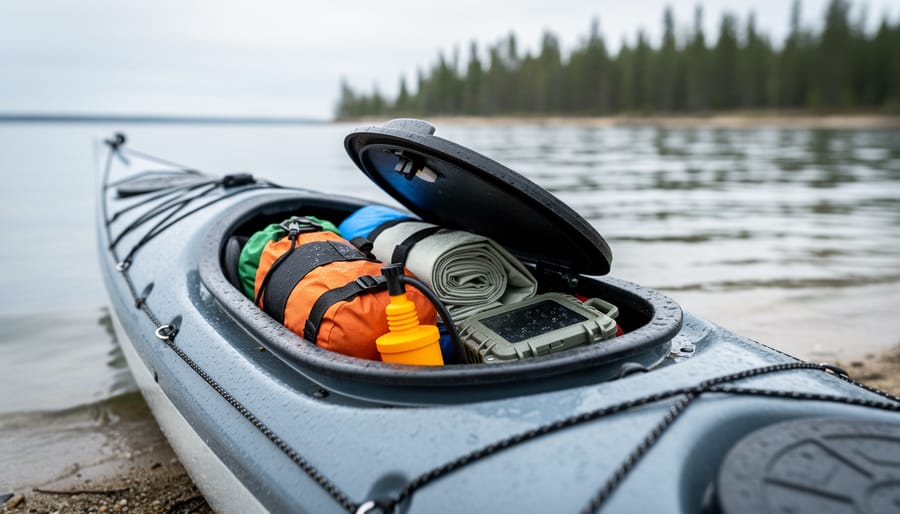
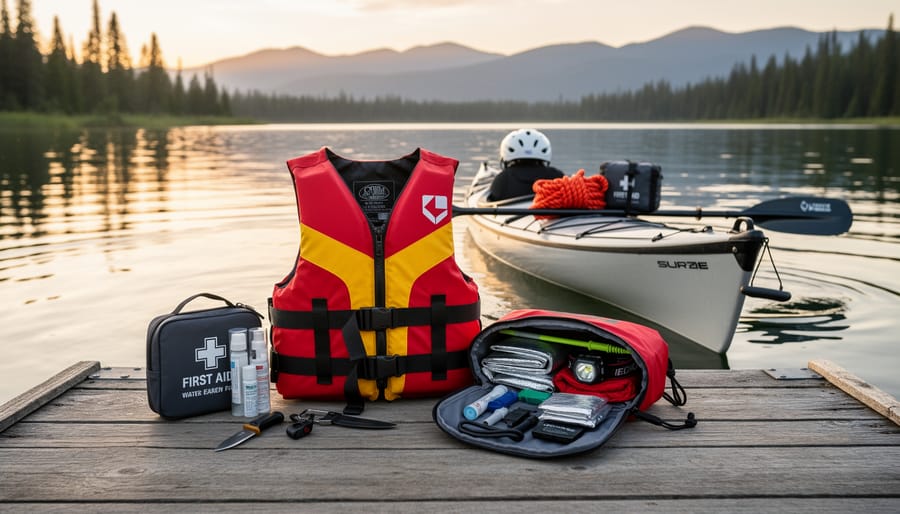
For kayaking, your personal flotation device tops the list. Choose one rated for paddling that won’t restrict your range of motion. A dry bag (20-30 liters) protects phones, keys, and extra clothing from inevitable splashes. Bring a paddling jacket even on warm days since wind chill on the water drops temperatures fast. Sun protection matters more on water than land, UV rays reflect off the surface, so pack reef-safe sunscreen, a wide-brimmed hat with a chin strap, and polarized sunglasses with a retainer cord. Our detailed pack list for kayaks breaks down exactly what fits in your hatch without compromising stability.
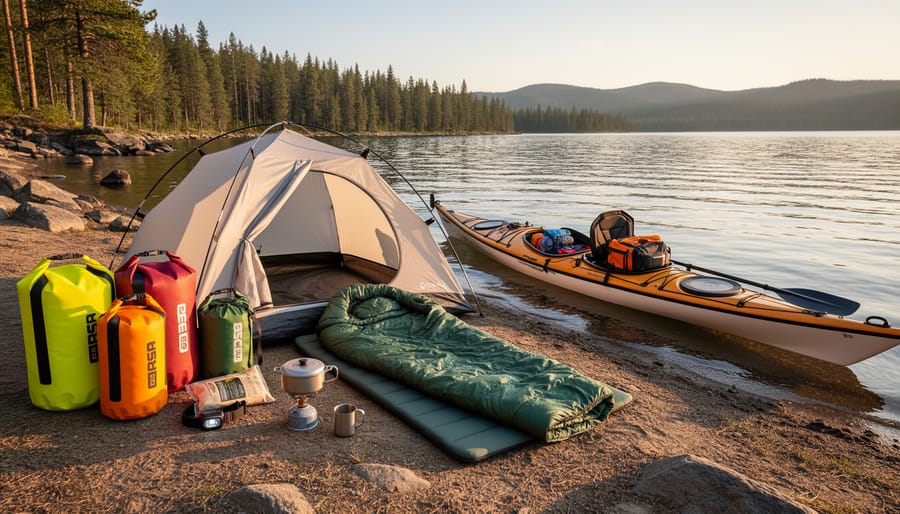
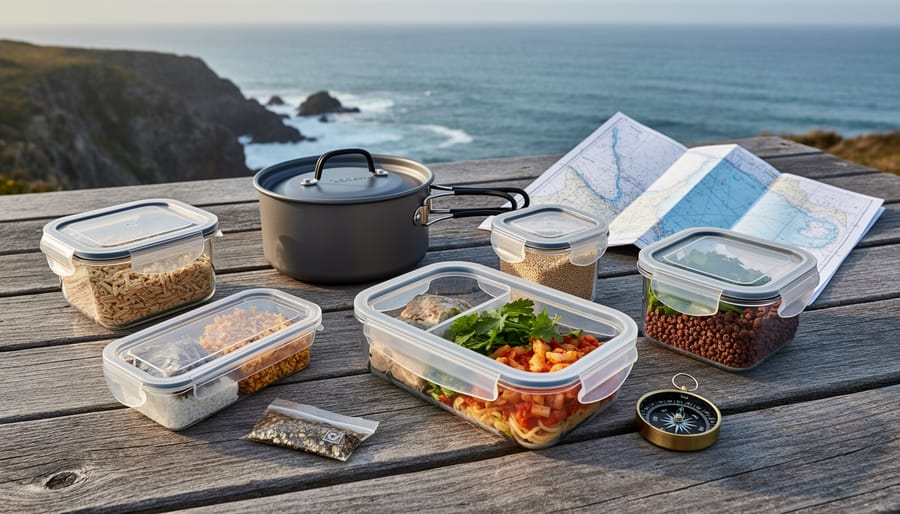
Camp essentials include a four-season tent (spring nights at Lac Des Pins can dip to 5°C), a sleeping bag rated to at least 0°C, and an insulated sleeping pad that works on potentially damp ground. Bug spray becomes critical from late May through July when blackflies and mosquitoes patrol the lakeshore. Pack a headlamp with fresh batteries, a camping stove with fuel, and bear-safe food storage containers since wildlife frequents the campground’s wooded sections.
Water-specific additions make the difference. Bring water shoes for rocky launch points, a small first-aid kit with blister treatments and waterproof bandages, and a whistle attached to your PFD. A portable water filter lets you top up from the lake during longer paddles. Don’t forget camp chairs and a tarp for creating dry gathering space when rain turns sites into temporary mud patches.
Getting There and What to Know
Finding Camping Lac Des Pins is straightforward, even for first-timers navigating Quebec’s rural roads. The campground sits at 3625 Route 201 in Franklin, Quebec (J0S 1N0), roughly an hour’s drive southwest of Montreal. From the city, take Highway 15 south toward the US border, exit onto Route 202 west, then follow Route 201 south, the entrance is clearly marked on your left. GPS coordinates work reliably out here, though cell service can be spotty once you’re deep in the Montérégie countryside, so download offline maps beforehand.
Franklin itself is a small agricultural community, so stock up on groceries and fuel before you arrive. The nearest town with full services is Huntingdon, about fifteen minutes north, where you’ll find supermarkets, a pharmacy, and a hardware store if you’ve forgotten camping essentials. The campground operates a small convenience store on-site, but selection is limited and prices run higher than in town.
A few campground rules worth noting: quiet hours run from 11 PM to 7 AM, fires are permitted only in designated fire pits, and all pets must be leashed. The 1166 sites mean the place can feel bustling during peak summer weekends, so patience with neighbors and shared facilities goes a long way. Arrive early on Fridays to claim prime lakefront spots and avoid the afternoon rush.
First-time visitors should bring a detailed site map (available during check-in) because navigating the sprawling property takes practice. The lakefront sites book fastest, but interior spots near the washroom blocks offer convenience that matters after a long day on the water.
With 1166 campsites nestled along pristine Quebec waters and the 2026 season opening May 15, there’s never been a better time to discover what makes Camping Lac Des Pins special. Whether you’re planning your first kayaking adventure or you’re a seasoned paddler seeking new waterways to explore, this Franklin gem delivers the rare combination of extensive facilities and untouched natural beauty that keeps water lovers coming back.
The Montérégie landscape offers something you won’t find at crowded commercial campgrounds: space to breathe, water that invites exploration, and that genuine connection to Quebec’s wild side. Don’t let another summer slip by wondering what you missed.
Ready to claim your spot? Call (450) 827-2353 to reserve your campsite or ready-to-camp accommodation. With the season running through October 1, you have months to experience everything from sunrise paddles to wildlife encounters along the shore. Your next great outdoor story starts at Lac Des Pins.